Blog
DIY – Repurposed Custom Cut Cruiser Skateboard
 If you grew up skateboarding you know that, as a kid there was no better (and no other) way to get out and explore your town. Unfortunately, the more you skate the faster the board gets chipped and worn down. Even though you might be looking for a new deck, it doesn’t mean you need to toss the old one yet. You can re-shape it and turn it in to a mini cruiser quite easily!
Step 1: Remove Old Griptape
Removing the old griptape is a crucial first step because it will make the later steps much easier. Use a utility knife to separate and lift a small section of the grip off the board, enough to hold with two fingers. Next, grab a heat gun or a blow dryer to heat up the adhesive under the griptape, allowing it to peel the rest off. Peel slowly to avoid tearing.
Step 2: Sand Deck (Optional)
In some of the re-shaping projects I have seen online, people have elected to sand the old scratched-up board graphics off and start fresh, or leave them on to maintain some of the old board’s look. If you elect to sand the board down to the natural wood, prepare to use some serious elbow grease! I would suggest not using motorized sanding tools; hand sanding is the only way to maintain the board’s concave shape. You will want to start off with either a 30 or 40 grit paper to sand the old graphics and scratches off. After that, use 60, 80, 120 and 200 git paper in that order to slowly buff the deck to a smooth finish.
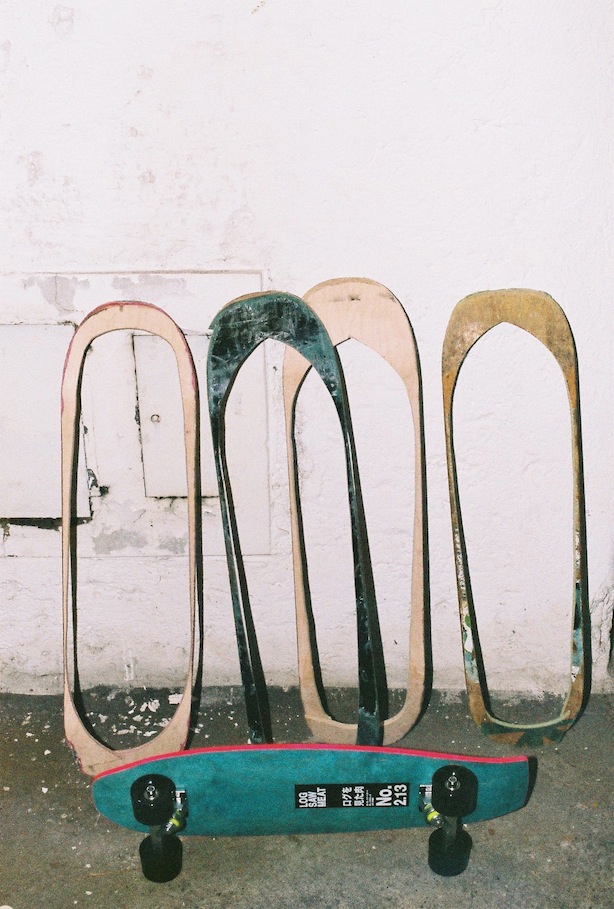
Step 3: Trace/Cut New Design
This is where your own creativity can come into play. You can trace out any design you want, from a traditional mini-cruiser to a unique shape you have never seen before (granted it can fit on your old deck). When tracing, I would suggest using the original tail of the board as the nose of the new re-shaped deck, as the original tail is probably too worn down to reshape with enough room for your foot. Once you have a trace you like, use a jig saw to cut JUST ABOVE the trace line. Next use a belt sander or other motorized sander to sand down to the trace line, giving you an accurate cut.
You can download some deck design plans here
Step 4: Re-Grip and Ride!
You can either apply a new sheet of griptape yourself, your take it to a local skate shop and have them do it for you. Remember to be safe when operating the tools and most of all have fun!